Tuesday, June 26, 2012

Miami & the Bahamas

I know I haven't done a blog entry in a while and I'm not sure that I'm ready to open up my Facebook page again but people have been asking me for quite some time how our trip that we recently took was! So here we go ... And just a warning: this is going to be a LONG post because I'm just going to smoosh everything in one.

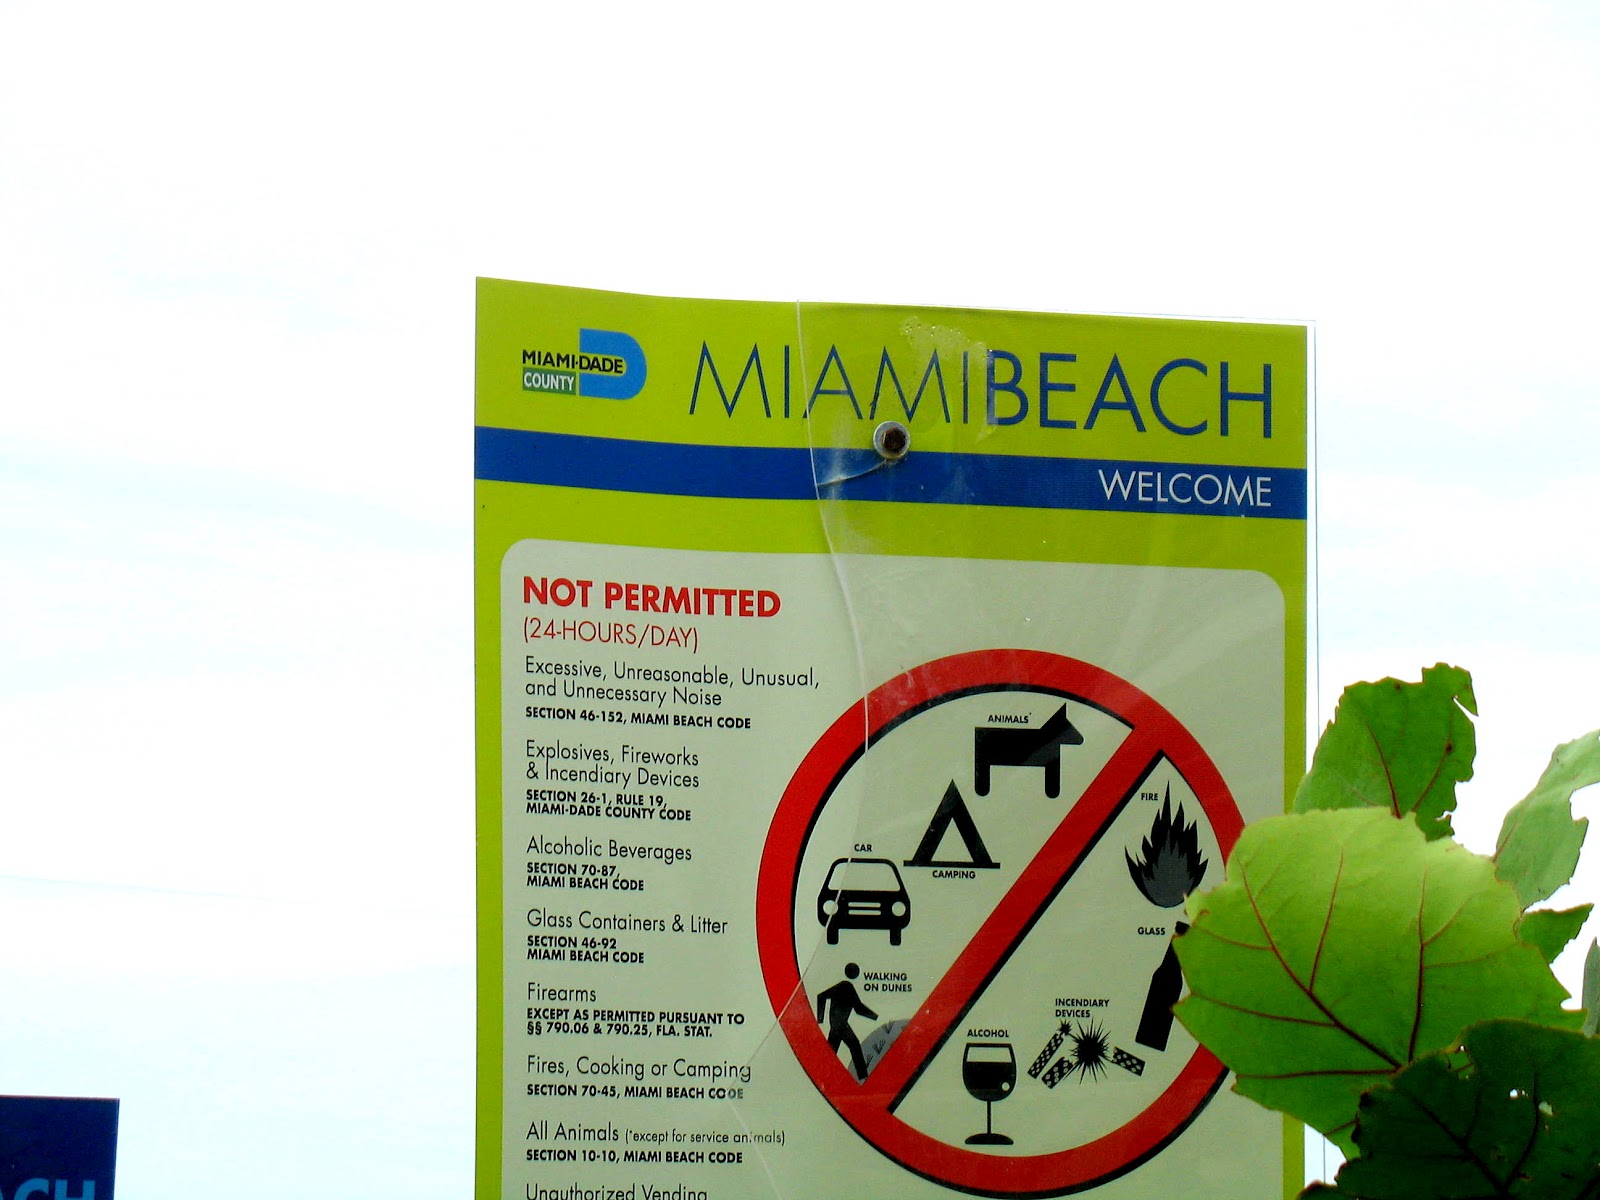
Primarily, some background information: as many of you know from a previous post that I did, I graduated recently from college and it was my birthday at the end of May (the 29th) so as a perfect present, my mom asked if I was interested in taking a cruise ... TO THE BAHAMAS. Ummm, let me think about that for a minute. Actually, no, let me NOT even think about it but rather, SIGN ME UP!! ... And that's pretty much what happened. A phone call here, a phone call there, ticket booking here, cruise ship booking there, and we were all set to go. Well, our ship left from Miami so my mom asked if I wanted to spend a day there to see everything. Again: I have NEVER been to Miami so it was one of those " don't think but just sign me up for that too" things. We mostly just had a chance to see South Beach but it was ... AMAZING. Beyond what words can describe.

Here are some pictures I took while walking down the beach:


Oh, and here's one of me sinking in the sand while standing in the ocean ... it was pretty amazing because look how pretty the water is!! :)


Following our walk on the beach, we decided that we would take a duck tour. This is a bus that goes around  Miami beach AND then turns into a boat ... only after we quack though :o)


Here are a few of my best pictures I was able to capture while on the tour:


And here's the moment we entered the water ... while QUACK QUACK QUACKING!!!


The rest of these were taking while our bus was a boat.


This is me and my mom while on our tour! I love her :)


That evening we were walking down Ocean Blvd trying to decide which restaurant to eat at and they had MANY places to choose from. We were undecided as to where we should go but finally chose a restaurant. Here were two memorable items from the evening (and it was my bad because I was too preoccupied enjoying drinks and the calamari to take pictures of anything else):


And just like that, our Miami stay was over! But that was alright because the Bahamas was next!! Here are a few pictures that I took as we were walking to the ship:


Our ship left port at 4:00pm but we had gotten on at about noon so we had some time to kill and were exploring the ship. Here's a few pictures of us doing that:


Andddd official round 1 of drinks on the cruise ... also the moment that I fell in love with Pina Coladas :)


Every night, we would have dinner in a common dining room and there were 6 people seated at our table. For all of our nights, we had an all-ladies table and it was A LOT of fun. Here's our group:


And not even going to lie, I'm going to make things easier and just post all of the food pictures of the delicious things that we got to enjoy:


Next, I'm going to combine and post the pictures that we took while we were in CocoCay, Bahamas and Nassau, Bahamas as these were our stops:


And if that wasn't enough pictures for you, here's just a few more. First, here are pictures of us from formal dining night:


And lastly, by far, my favorite round of drinks:


Needless to say, this trip was AMAZING and I could not have enjoyed myself more. The cruise itself was three nights. Each night was packed with a lot of fun because there was so much to do and we hardly got any sleep and did everything possible! This included walking around the ship, going to shows, eating delicious food, having delicious drinks, etc! ... All I can say after that is: When are we going back?!

Thursday, May 24, 2012

Mix and Match Quiche

A few posts ago, I had shared a method with which you could change up pastas to create many different baked casserole dishes (http://tangerinesandtomatoes.blogspot.com/2012/04/mix-and-match-baked-pasta-casseroles.html), and this time, I'm going to share how to mix and match ingredients to make quiches!

For those who have not tried a quiche before (and I was actually one who had not until very recently), it's basically a pastry that is filled with your favorite vegetables, meats, and cheeses, and then is to be baked with a custard mixture! SO if you want to make this completely from scratch, here's how you would do it:

1) Make The Crust

Preheat the oven to 375 degrees. Line a 9-inch plate with pie dough (store-bought or homemade) and crimp as desired; chill 30 minutes. Line with foil, then fill with pie weights or dried beans. Bake until the crust is set, about 20 minutes. Remove the foil and weights and continue baking until lightly golden, 5-10 more minutes. Let cool while you prepare the filling.

2) Choose Your Vegetables

Prepare 1/2 to 1 cup total. Choose up to 3 vegetables and transfer into a large bowl.
*Asparagus - roasted and chopped
*Broccoli - chopped and roasted or steamed
*Kale - chopped and sauteed (or frozen chopped spinach, thawed and drained)
*Jarred roasted peppers or cherry peppers - roughly chopped
*Frozen peas - thawed
*Mushrooms - sliced and sauteed
*Potatoes - shredded and sauteed
*Cherry or grape tomatoes - halved
*Radicchio - chopped and sauteed
*Olives - pitted and sliced (use up to 1/4 cup)
*Onions or shallots - sliced and sauteed
*Scallions - chopped

3) Add Meat (Optional)

Prepare up to 1/2 cup total. Choose 1 or 2. Add to the bowl with the vegetables.
*Bacon - cooked and crumbled
*Sausage - cooked and crumbled
*Ham or salami - chopped
*Corned beef or pastrami - chopped
*Rotisserie chicken - shredded
*Crabmeat - picked over

4) Add Cheese

Shred or crumble 3/4 cup to 1 cup total. Choose 1 or 2. Add to the bowl with the vegetable mixture and toss.
*Swiss, gruyere, or jarlsberg
*Fontina
*Manchego
*Provolone
*Monterey Jack or Pepper Jack
*Cheddar
*Gouda - regular, aged, or smoked
*Mozzarella
*Brie
*Ricotta salata
*Goat cheese
*Feta
*Parmesan

5) Make the Quiche

Wisk 3 eggs, 1/2 tsp salt, 1/4 tsp pepper, and 1 1/4 cups heavy cream, half-and-half or milk in a large bowl. If desired, stir in 1-2 tbsps chopped fresh herbs, 1/2 tsp paprika or chile powder, or some grated lemon zest. Spread the vegetable-cheese mixture in the crust, then pour the egg mixture on top. Reduce the oven temperature to 350 degrees and bake until the filling is set, 40-50 minutes. Let cool at least 30 minutes before slicing.

I typically skip #1 and just purchase the pastry to save on time, but I know many people who make their own as well. My favorite fillings include broccoli, mushrooms, onions, asparagus, along with very basic cooked chicken (not even rotisserie as mentioned above), and a three cheese mix (mozzarella, cheddar, and swiss).

Here are three quiche recipes that you can look at for inspiration to create your own personal quiche:

1) Spinach and Bacon Quiche
http://www.foodnetwork.com/recipes/paula-deen/spinach-and-bacon-quiche-recipe/index.html

2) Ham and Broccoli Quiche
http://www.foodnetwork.com/recipes/ham-and-broccoli-quiche-recipe/index.html

3) Roasted Pepper, Scallion, and Sausage Quiche
http://www.foodnetwork.com/recipes/food-network-kitchens/roasted-pepper-scallion-and-sausage-quiche-recipe/index.html

*Note: this easy step-by-step quiche idea is not mine. I found it on foodnetwork.com and have resposted about it.

Wednesday, May 16, 2012

Si Señor!

One of my favorite cuisines of all time is Mexican so whenever I see a Mexican restaurant in passing, I immediately add it to my list to try out! For today, I have to share with you a restaurant that we have been to quite a few times: Si Señor . This restaurant was established in 1984 by Martin and Irene Castillo in Deming, New Mexico. There is currently one restaurant in Las Cruces, NM which is currently the 11th fastest growing area in the US. The restaurant there has been awarded three "Best of the Best Reader's Choice" Awards: Best Mexican Food, Best Chips and Salsa, and Best Business Lunch Place! There is another location (the one we visited) in Chandler, AZ, which opened in October 2011. They have been serving amazing food there ever since!

My mom and I went there for a late lunch so we ended up only ordering one dish, but I'll go through everything that was served to us.

First, as many restaurants do, Si Señor also serves a basket of freshly made chips and salsa. They however, give you a variety of four different dips! As seen in the back left, they have their traditional salsa, and to the right of that is a bean dip. In the front right, as seen, they have a tomatillo salsa, and the last one is a jalepeno sour cream sauce. All of these were delicious and definitely a treat since they had something different for everyone to enjoy!


At the restaurant, for lunch time, they offer daily specials from 10:30am-2:00pm for $7.50 and these are: 
Monday- Cheese Enchilada, Tuesday- Ground Beef Tacos, Wednesday- Stuffed Sopaipillas, Thursday- Beef Chimichangas, and Friday- Chile Relleno Plate, all served with rice and beans.

Additionally, they have their full menu which features everything from burritos to tacos to enchiladas that can be ordered for lunch and dinner. For this visit, we ordered the Chicken Enchilada in green sauce with rice and beans. The portion of food that was served was quite large and definitely sufficient for two people. It was very tasty, although I could have definitely done with less cheese on both the enchilada as well as the beans.


And finally, as their special, they also serve a Sopaipilla for each person (lunch or dinner) with the choice of plain or with cinnamon sugar. My mom and I each opted to get the cinnamon sugar and it was delicious! The perfect ending to a yummy lunch.


To take a look at information all about Si Señor, take a look here: http://www.sisenorrestaurants.com/

What is your favorite local Mexican Restaurant? What dish do you normally get?

Monday, May 14, 2012

Dulce De Leche Crepe Cake

In light of Mother's Day being yesterday, I was doing some quality thinking about some of my favorite food experiences that I have had thus far with my mom. One that I recall clearly was before we came to the United States. I grew up in India and we lived there until I was age 6. After that, the first place we lived outside of the country was London, England! Well, while we lived there, we went on vacation to many tourist-y destinations and Paris was one of them! If nothing else there (except the Eiffel Tower, of course), I recall eating THE best crepes EVER!!! I think at that point of time (age 7), I wasn't exactly an adventurous foodie, so during this trip, crepes were my go-to food. My favorite crepes? Nutella! Haha, at least I had good taste right? Anyways, when wandering the streets of Paris, my parents had found a cart where they sold these were sold and we went back there pretty much every evening for the duration of the trip!

Since that time, I have been trying to replicate crepe recipes to make the perfect one ... no such luck yet, BUT the other day, I was browsing through a magazine and stumbled upon this: Dulce De Leche Crepe Cake! What a unique way of layering yummy goodness to make a delightful desert. Take a look at how to make this, below:


What you will need:

For the crepes:
1 1/4 cups whole milk
4 large eggs
1 1/4 cups all-purpose flour
1/4 cup unsweetened cocoa powder (Dutch-process or natural)
1/4 cup granulated sugar
3/4 teaspoon vanilla extract
1/8 teaspoon kosher salt
Unsalted butter, melted, for brushing

For the filling and topping:
2 sticks unsalted butter, softened

2 3/4 cups plus 1 tablespoon confectioners' sugar
1 cup dulce de leche (jarred or canned), plus more for drizzling
1 cup heavy cream

Directions:

Make the crepes: Combine the milk, eggs, flour, cocoa powder, granulated sugar, vanilla and salt in a blender and process until smooth. Refrigerate the batter 30 minutes.

Lightly brush a 10-inch nonstick skillet with melted butter and place over medium heat. Add a scant 1/4 cup of batter and quickly swirl the pan to coat the bottom. Cook until set on top and golden on the bottom, about 30 seconds. Carefully lift the edge of the crepe with a rubber spatula, then flip with your fingers and cook 20 more seconds. Invert the crepe onto a plate. Repeat with the remaining batter to make 14 to 18 crepes, brushing the skillet with more butter as needed. Stack the finished crepes on the plate and let cool completely. (The crepes can be made up to 1 day ahead; let cool, then wrap the stack in plastic wrap and refrigerate.)


Make the filling: Beat the butter in a stand mixer fitted with the paddle attachment on medium-high speed until light and fluffy. Add 2 3/4 cups confectioners' sugar in 2 batches, beating until smooth and fluffy. Add the dulce de leche and beat until combined. (The filling can be made up to 1 day ahead; cover with plastic wrap and refrigerate, then beat for a few minutes with a mixer before using.)

Assemble the cake just before serving: Place 1 crepe on a platter or cake stand. Spread with a scant 1/4 cup of the filling, then top with another crepe. Repeat with the remaining filling and crepes, ending with a crepe on top.

Beat the heavy cream and the remaining 1 tablespoon confectioners' sugar in a stand mixer fitted with the whisk attachment until stiff peaks form. Spread on top of the cake and drizzle with dulce de leche. Serve immediately.


Do you have a favorite crepe recipe? Let me know what it is!

*The picture and recipe featured in this blog post were both taken from the Food Network magazine.

Wednesday, May 9, 2012

Rashmi's Graduation Party 2012

As many of you know, I recently graduated college, more specifically from Arizona State University, and in celebration, we had a big party at my house, for which, we prepared some of my favorite things! Before I get to those, however, I would like to take a minute to go through a couple of other things first.

I have posted about this company before, and hopefully all of you are already fans on their Facebook page (https://www.facebook.com/MojoMoxy), but if not, let me just take a moment to tell you about one of my MOST FAVORITE shoe companies EVER, Mojo Moxy! Very recently, Mojo Moxy and Izzy were awesome enough to pick winners to receive free shoes as Random Acts of Mojo (#RAOM). This year, the style that was given away, as seen below, was the Guility's. When I had originally seen this shoe (http://www.mojomoxy.com/catalog-spring-2012/guilty), I saw all the fabulous colors it was offered in and KNEW that it would look AMAZING with my graduation outfit. As it turns out, *I* was chosen as a lucky recipient. Even more perfect was the fact that I received a pair of black Guilty's because they went SO WELL with my dress that I had picked out! I wore them during the party, and with confidence, I can say that I rocked them because I received SO MANY compliments! Thus, I would like to entend a HUGE thank you again to Mojo Moxy and Izzy for being so wonderful, always!


And what is an outfit without the PERFECT nail polish to match? Well, for this, I would like to say thank you to an awesome nail polish blogger Cosmetic Sanctuary for finding Frenzy, as seen below, for me. I had originally commented on her Facebook page (https://www.facebook.com/cosmeticsanctuary) asking if she knew of any dupes to the BL polish "Slapper", for which she found Hard Candy's "Frenzy". I went on a search to find this polish and was unsuccessful but SHE FOUND ME ONE!!! "Frenzy" was pretty much a PERFECT match to my dress. As seen on the left, the bottle is set on top of my dress, and on the right is a swatch of the polish! I'm not a polish blogger so I have nothing fancy to say except that if you buy this color (which you should) make sure you have a good base coat ... you're going to need it! =D


And so, here's a collage of all the parts of the outfit:


Awesome! So, now, on to the food! We are a fairly ambitious bunch at my house so the menu consisted of 3 snack type dishes along with 2 main dishes and 3 desserts! The 3 snack dishes were: 7 layer dip with chips, cocktail samosas, and spinach rolls. The 2 main dishes were kofta curry and butter chicken with accompaniments of rice and naan. And lastly, the 3 desserts were my oreo pops, nilla waffer banana pudding, and my "Congratulations Rashmi" cake.

I have to say, up front, that while everything was being made, there was a lot of "I should add a little of this and little of that" going on, especially since the quantity prepared was fit for 50-ish people. I tried my best to change the recipe quantities such that they make food for less number of people (around 3 or 4). Okay, let's get started:

7 Layer Dip and Chips


What you will need:

1 can Refried Beans
1/2 bottle of Chunky Salsa
Sour Cream
Tomatoes
Olives
Jalepenos
Cilantro
Cheese
Tortilla Chips

Directions:

Heat refried beans in a pan with a little bit of oil. Layer the beans on the bottom of the pan. Add a layer of salsa on top, followed by sour cream, tomatoes, olives, jalepenos, cilantro. Top with cheese and serve with chips. 

Cocktail Samosas


These can be found at pretty much any Indian store in the freezer section. They are the potato variety and the cooking of them entails frying.

Spinach Rolls


What you will need:

1 package of Puff Pastry Sheet
1 package of Frozen Spinach
Chopped Onions
About 1 package of Cream Cheese
Salt to taste

Directions:

Remove puff pastry sheet from freezer and let thaw.

In a pan, sautee onions in a pan till golden brown, then add spinach. Stir together and remove from heat. Add cream cheese and stir together. Roll out thawed puff pastry sheet and spread spinach mixture on top. then roll the puff pastry over and cut. Bake as directed on puff pastry sheet packet.

Kofta Curry


What you will need:

For the koftas:

2 cups peeled and diced boiled potatoes
1 cup mixed vegetables boiled
1 cup paneer
2 tbsps of heavy whipping cream
1 tsp cumin powder
1 tsp coriander powder
1/2 tsp red chilli powder
1/2 cup chopped cashews
Salt to taste
Cooking oil (for frying)

For the sauce:

3 tbsps oil
2 large onions quartered
2 tomatoes quartered
2 tbsps garlic paste
1 tbsp ginger paste
2 tsps coriander powder
1 tbsp cumin powder
1/2 tsp red chilli powder
1 tsp poppy seeds lightly roasted and ground into a powder
3 tbsps cashews, ground into a thick paste
Salt to taste
2 tsps garam masala

Directions:

Mash the potatoes, mixed vegetables, paneer and cream together. Add the kofta spices to this mash and mix well. Season with salt.

Make this dough into balls and put a few pieces of chopped cashews in the center of each ball.

Heat the oil kept aside to fry the koftas, on a medium flame. Deep fry these rounds till pale golden in colour.

Drain on paper towels and keep aside.

For the gravy, first heat the 3 tbsps of oil in a deep pan and fry the onions till light brown.

Grind into a paste along with the tomatoes, onions, ginger, garlic, coriander, cumin and red chilli powders.

Put this paste back into the pan and fry till the oil begins to separate from the masala.

Add the poppy seeds powder and cashew paste and fry for another 2-3 minutes.

Add 1/2 cup of warm water to this masala to form a sauce/gravy (the sauce for this dish is meant to be fairly thick so do not add too much water but if you need more than 1/2 cup, please add water accordingly). Mix well. Season with salt.

Bring the sauce/gravy to a boil and then reduce heat to a simmer.

Gently add the kofas to this sauce/gravy and cook uncovered for 2-3 minutes.

Turn off heat and sprinkle the garam masala all over the top of the dish. Stir quickly and cover immediately. Allow to sit for at least 5 minutes prior to serving.

*Please note that this recipe is not originally mine and was taken from cooking site online but modifications were made to it, as shown, reflecting the way in which it was cooked by us.

Butter Chicken


I'm totally going to cheat on this one and link you to a previous post that explains how to make this in great detail. We use the same recipe each time! Here it is: http://tangerinesandtomatoes.blogspot.com/2012/02/namaste-lets-take-trip-to-india.html

Oreo Pops


What you will need:

1 package Oreos
1/2 package Cream Cheese
Candy Melts
Sticks (if making pops)

Directions:

In a food processor, crush oreos to bits. Add cream cheese to the crushed oreos in the food processor and mix until you form what is similar to a dough. Remove from food processor and use a scoop to make oreo balls. Put in refrigerator for at least 30 minutes. Remove from refrigerator. Melt candy melts in a pot and dip a stick in the chocolate and press firmly into the oreo balls. Put oreo pops back in refrigerator and let chocolate harden for about at least an hour.  Remove from refrigerator and dip each oreo pop into chocolate until completely coated. Using a different color, decorate, if wanted.

Nilla Waffer Banana Pudding


What you will need:

1/2 package Nilla Waffers
1 small box of Pudding Mix
2 cups Milk
1/2 container Whipped Cream
1 Banana

Directions:

Prepare pudding as instructed on pudding mix. In a bowl, layer Nilla Waffers, bananas, pudding and whipped cream. Repeat.

"Congratulations Rashmi" cake


How awesome is this cake? I did a good job, right? HA. Fooled you. Nope, I didn't make this cake. It was a half-sheet marble cake with whipped frosting, ordered from Sam's Club! :o)

Fruit Punch Drink


What you will need:

Orange Sorbet
Mixed Berry Sorbet
Fruit Punch
Orange Juice
Ginger Ale

Directions:

In a large punch bowl, add equal parts orange and mixed berry sorbet. Pour equal parts fruit punch, orange juice, and ginger ale over sorbet. Stir together.

Note: I wouldn't melt the sorbet completely because it helps keep the drink cold ... so, in fact, when I make this, I actually don't melt the sorbet purposely at all. I just have the sorbet sitting at the bottom of the punch bowl when I pour everything in, and once it is all added, I do a light stir and it's good to go! :o)

Anddd lastly, here are a couple of extra pictures:

Me and my mom

Me and my cake

Uff! I know this post was really long but I hope you all enjoyed reading and looking at pictures. It was a really fun party and thank you all who attended, making it such an awesome day for me!!

xo -Rashmi